5 March 2025
So, you’ve decided it’s time to downsize. Maybe the kids have flown the nest, or perhaps you’re just tired of cleaning rooms you never use. Whatever the reason, downsizing can be a game-changer for simplifying your life, saving money, or even embracing new adventures. But let's be honest—it can also feel overwhelming. Where do you even start?
Well, take a deep breath because I’ve got you covered. In this guide, I’ll walk you step-by-step through the process of downsizing like a pro. By the end of this, you’ll not only have a clear roadmap but a sense of relief knowing you can handle this daunting task with ease! 
Why Downsizing Makes Sense
Before we dive into the nitty-gritty, let’s take a moment to talk about why downsizing can be so beneficial. Think about it:- Save Money: Smaller homes mean smaller mortgage payments, lower property taxes, and reduced utility bills. Cha-ching!
- Less Maintenance: No more mowing an acre of lawn or fixing that leaky roof. A smaller space equals fewer headaches.
- Freedom to Travel or Pursue Hobbies: With less space to manage, you’ve got more freedom to focus on what truly matters.
So, if you're ready to declutter your life and embrace a simpler lifestyle, let’s get to work. 
Step 1: Decide Why You’re Downsizing
First things first, you need to know your "why."Ask yourself:
- Are you looking to save money?
- Do you want a more manageable home?
- Is this part of a retirement plan?
When you understand your motivation, it’s easier to make decisions along the way. Write it down—seriously, put it on paper. When things get tough (and they might), this reminder will keep you going. 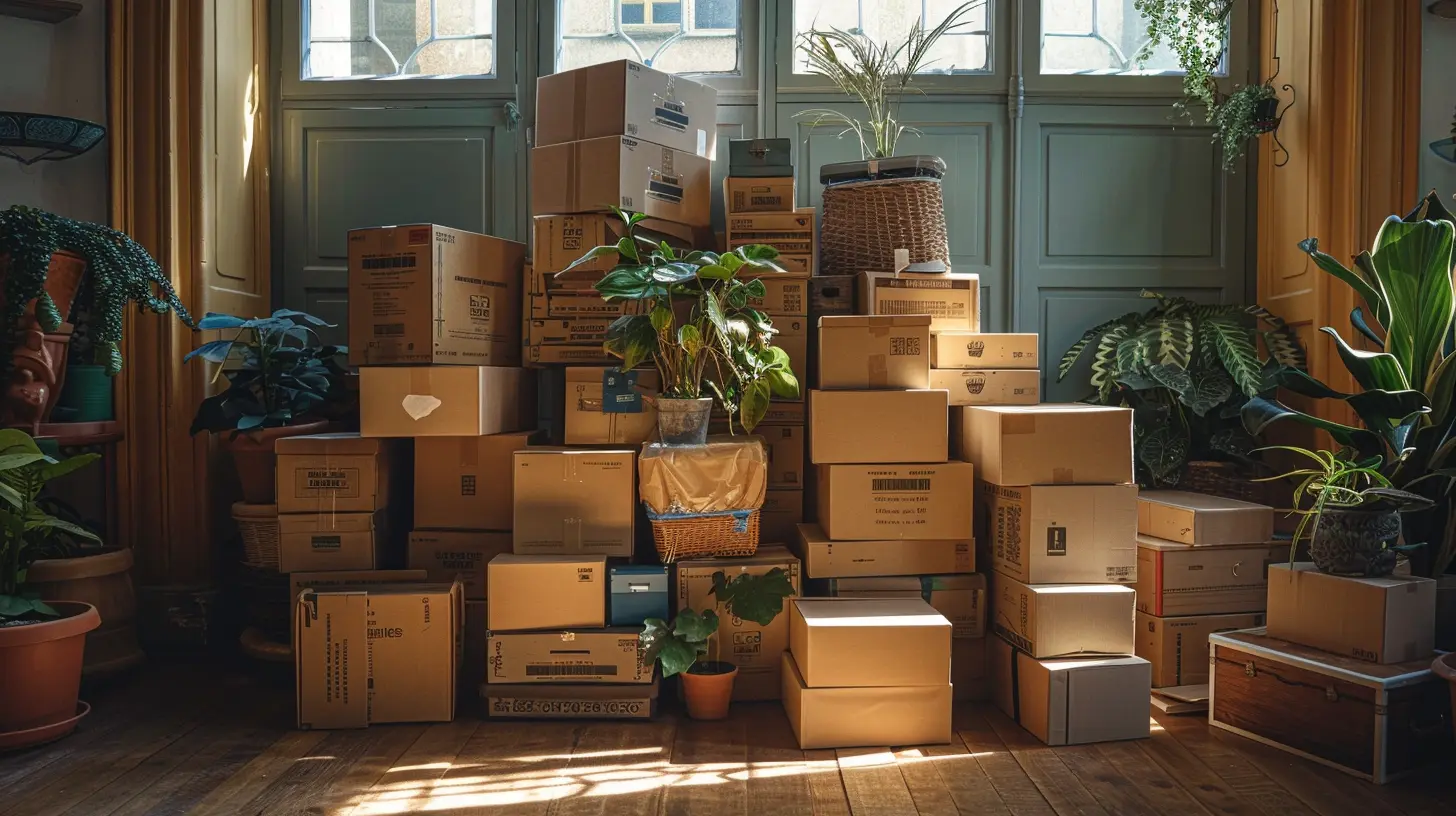
Step 2: Assess Your Current Belongings
Now comes the fun part—or not-so-fun part, depending on your perspective. It’s time to take a good, hard look at your stuff.Start with a Home Inventory
Grab a notebook or your smartphone and go room by room. Write down what you have. This isn’t about being a perfectionist; it’s about getting a sense of the sheer volume of your belongings.Separate Items into Four Categories
- Keep: Things you love, need, or use regularly.- Donate: Items in good condition that could benefit someone else.
- Sell: Furniture, appliances, or other valuables you no longer need but could make a quick buck off.
- Toss: Anything broken, outdated, or beyond repair.
Pro tip: If you haven’t used it or worn it in the past year, chances are you won’t miss it. 
Step 3: Start Small and Build Momentum
Don’t try to tackle the whole house in one weekend—that’s a recipe for burnout. Instead, start with areas that are low-pressure, like your bathroom or laundry room. These spaces usually have fewer sentimental items, making decision-making easier.As you build momentum, move on to larger or more emotional spaces, like the kitchen or living room.
Step 4: Get Ruthless with Sentimental Items
Okay, here’s the tough love part: you can’t keep everything. We all have those items we cling to for sentimental reasons—your kid's third-grade art project, Grandma’s tea set, or that sweater from college that no longer fits.Ask Yourself These Questions
- Does this item truly bring me joy?- Am I keeping it out of obligation or guilt?
- Could I preserve the memory without keeping the physical item?
One solution? Take photos of sentimental items and create a digital memory book. That way, you can revisit the memories without needing the space.
Step 5: Measure Your New Space
Before you keep the dining room table that seats 12, measure your new home. Knowing the dimensions of your new space will prevent overpacking and overthinking.Pro tip: If you find your current furniture won’t fit, this could be the perfect opportunity to sell and buy new pieces that better suit your downsized lifestyle.
Step 6: Sell, Donate, or Toss
Now that you’ve sorted your belongings, it’s time to let go of what you don’t need.Selling Your Stuff
- Use online platforms like Facebook Marketplace, Craigslist, or eBay.- Host a garage sale for a simpler approach.
- Contact consignment stores for higher-end items.
Donating to a Good Cause
- Research local charities, churches, or shelters that accept donations.- Many organizations will even pick up items directly from your home.
Tossing the Rest
- Rent a dumpster for large items.- Recycle whenever possible to minimize waste.
Step 7: Pack Smart
Packing for a smaller space requires strategy. Focus on efficiency.Use These Packing Tips
- Label every box with its contents and destination room.- Use vacuum-seal bags for bulky items like bedding and winter clothes.
- Invest in sturdy containers for fragile or valuable items.
Pro tip: Pack a “first-night” box with essentials like toiletries, bedding, and a change of clothes. You’ll thank yourself later.
Step 8: Plan Your Moving Day
Moving day doesn’t have to be chaotic if you plan ahead. Hire professional movers or enlist help from friends and family. Schedule your move for a weekday if possible—it’s often cheaper and less crowded.Once everything is loaded up, take a final walkthrough of your old home. This is your chance to ensure you didn’t leave anything behind (and maybe say a little goodbye).
Step 9: Adjust to Your New Space
Congratulations, you’ve officially downsized! Now it’s time to get comfortable in your new home.Embrace Minimalism
Resist the urge to restock your home with unnecessary items. Instead, focus on pieces that are functional or bring you joy.Get Creative with Storage Solutions
- Use multi-functional furniture like ottomans that double as storage.- Install shelves to maximize vertical space.


Caitlin Navarro
Thank you for this insightful guide! Downsizing can be daunting, and your step-by-step approach makes it much more manageable for homeowners.
March 31, 2025 at 3:13 AM