2 March 2025
When it comes to selling real estate, first impressions are everything. And let's face it — in today's digital age, those first impressions often happen online. That’s why photography isn’t just a "nice to have" anymore; it’s a must. But here’s the kicker: it’s not just about having good photos. It’s about having great photos that capture your property’s best features. The secret sauce? Angles. Yes, the right angles can make your listing pop, draw in potential buyers, and leave them clicking that "schedule a tour" button faster than you can say “sold”.
So grab a cup of coffee (or tea, if that’s your thing), and let’s dive into how you can use angles to showcase real estate features like a pro. 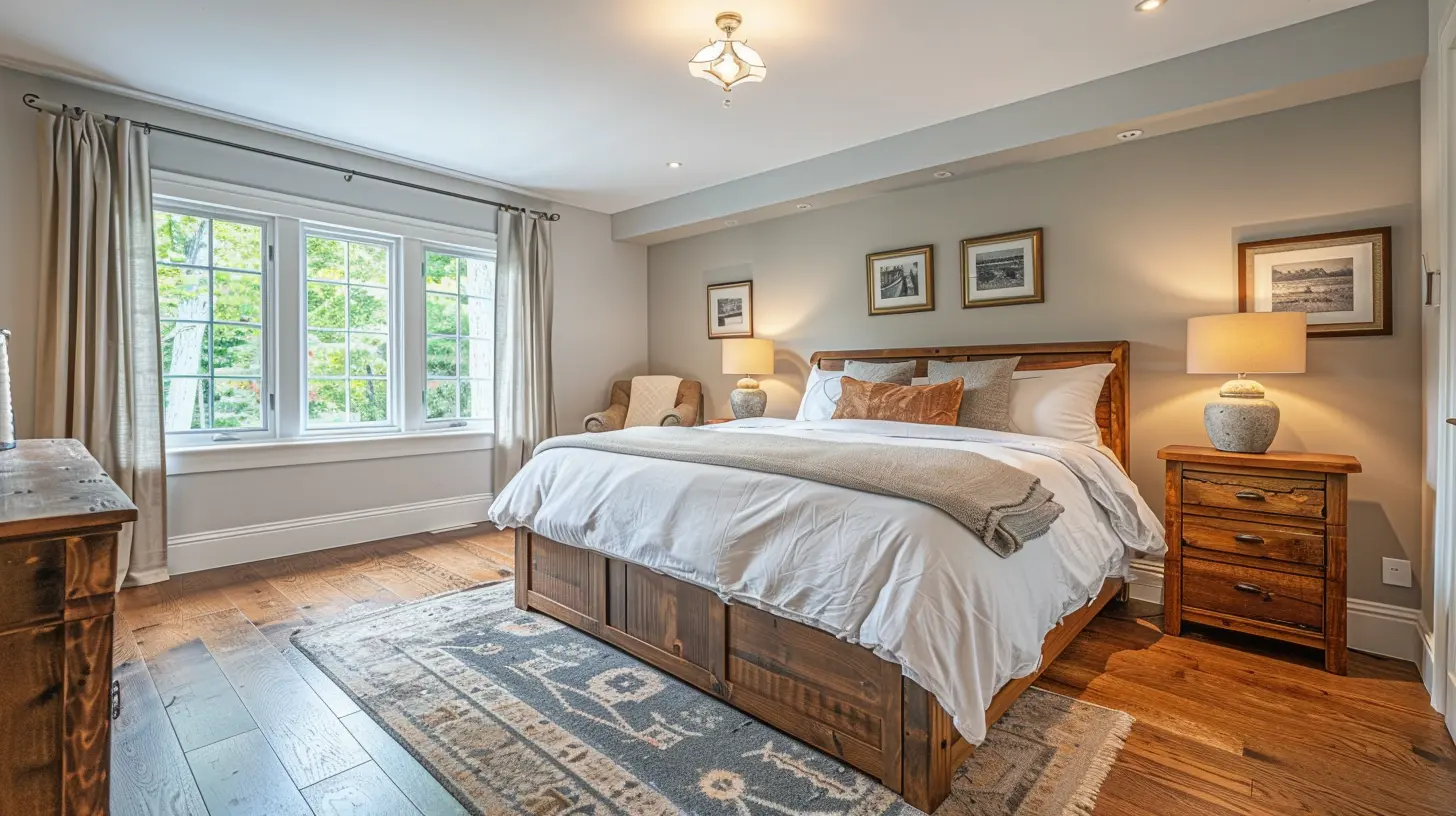
Why Angles Matter in Real Estate Photography
Let’s start with this: Imagine you’re looking at two listings online. One has flat, awkwardly-taken pictures that make the space look cramped and uninspiring. The other has well-thought-out photos that highlight spacious rooms, showcase natural light, and create a warm, inviting vibe. Which one are you clicking on? Exactly.Angles play a massive role in how we perceive depth, space, and proportions. The right angle can make a small room feel cozy rather than cramped, while the wrong one can turn a glowing space into a shadowy mess. Think of angles in real estate photography as being similar to your social media filters. Just like you wouldn’t post a photo of yourself without considering lighting or framing, you shouldn’t showcase a property without finding its "good side." 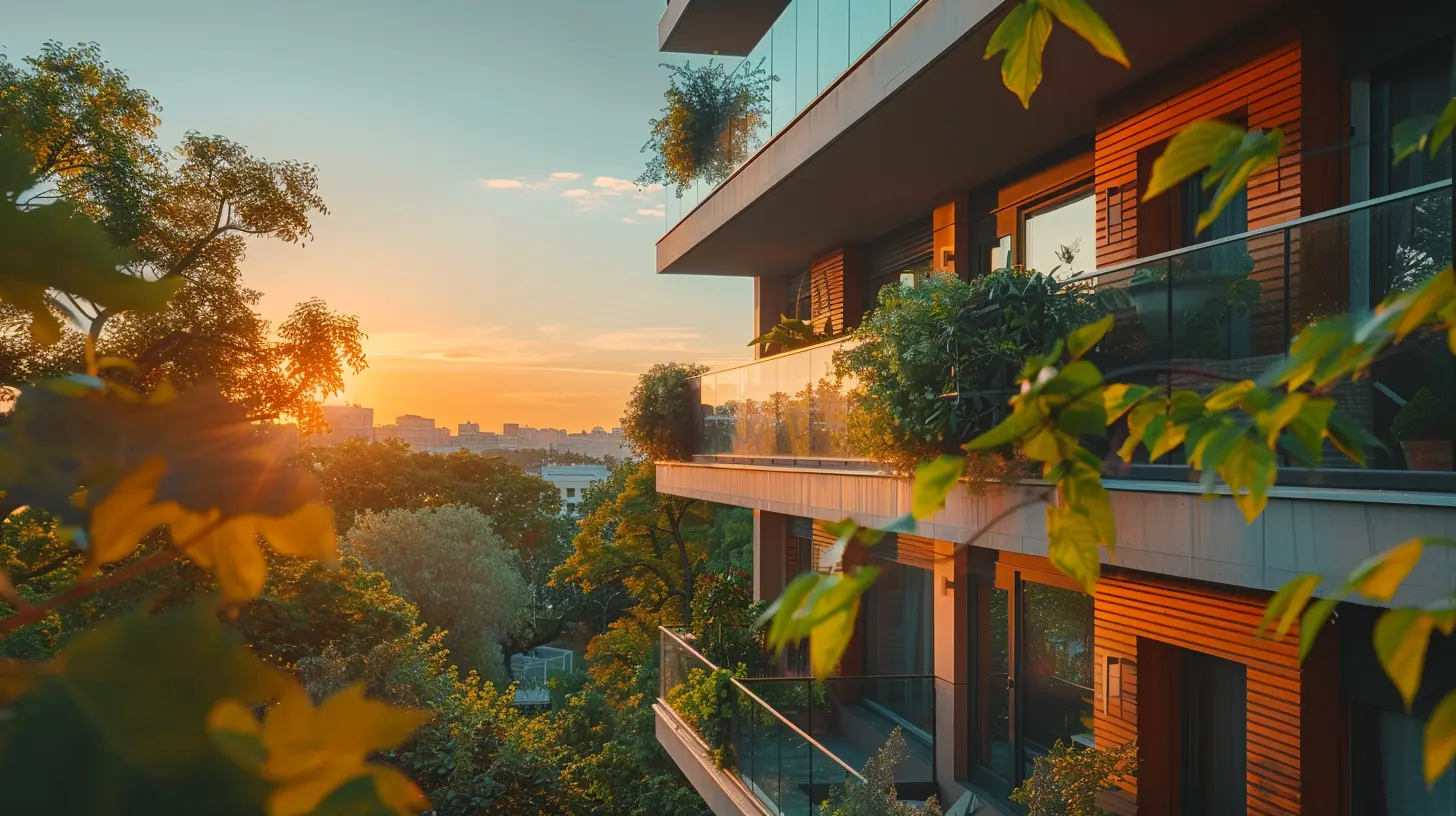
The Key to Choosing the Right Angle
So how do you know which angle is the right angle? Well, it’s not rocket science, but there are definitely some best practices to follow. Here are a few tips:1. Highlight the Room’s Biggest Selling Point
Every room has at least one standout feature — maybe it’s a bay window, an ornate fireplace, or gorgeous hardwood floors. Your angle should make that feature the star of the show. Position your camera to draw attention to what makes the space unique.For example, let’s say the home has a killer kitchen island. Instead of shooting directly from the doorway, position yourself at an angle where the island is front and center. Think of it as being the Beyoncé of the room: it deserves the spotlight!
2. Angle for Space and Depth
Want the room to look larger? Use wide-angle shots taken from the corners of the room. Shooting from a corner instantly adds dimension (proving that geometry can actually be useful... who knew?). This trick works wonders for small spaces, like bathrooms or laundry rooms. But be careful not to overdo it — you want it to look spacious, not distorted.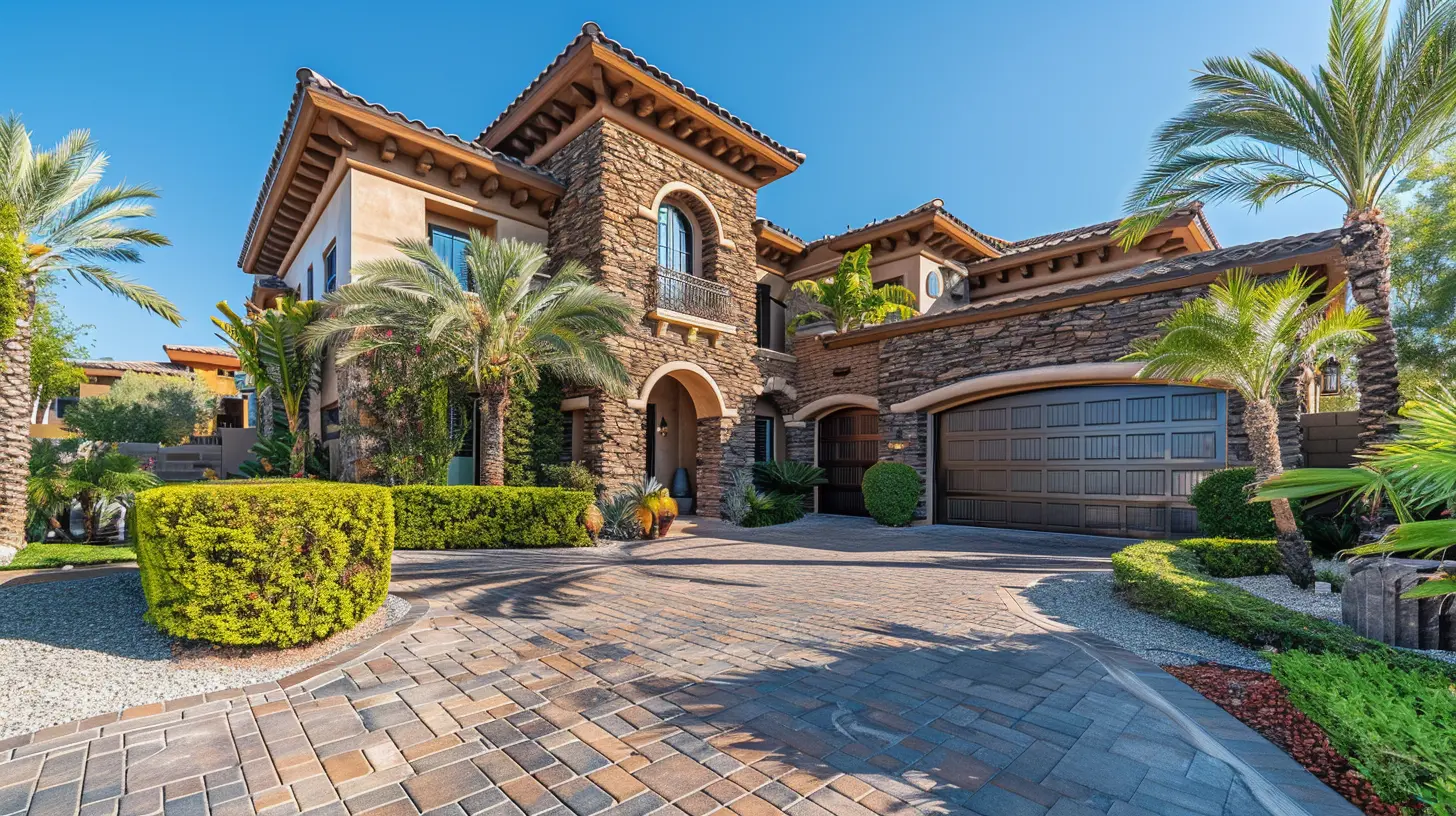
Tricks of the Trade: Incorporating Angles Like a Pro
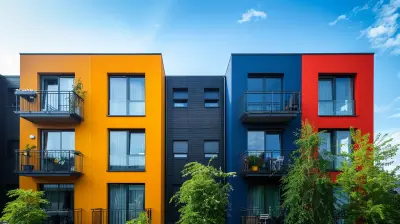
Alright, let’s get to the fun part. Here are some specific techniques to help you leverage angles for jaw-dropping photos:1. Low Angles for a Sense of Grandeur
Ever notice how photos of mansions or luxury homes often look like they belong on the cover of a magazine? That’s because photographers often shoot from a slightly lower angle. A low vantage point can make ceilings look higher, rooms look grander, and outdoor spaces more expansive.This is especially effective for properties with high ceilings, sweeping staircases, or unique architectural features. Just don’t overdo it — you don’t want your photos to feel like they were taken by a tiny toddler crawling on the floor!
2. Neutral Eye-Level Shots for Comfort
Sometimes, keeping it simple is your best bet. Eye-level angles are a no-brainer when showcasing everyday living spaces, such as bedrooms, dining rooms, and offices. These angles feel natural and put the viewer in the perspective of actually walking through the space.Pro tip: A tripod can help you nail the perfect consistent height. Aim for about 5 feet off the ground for eye-level shots.
3. Use Diagonal Lines for Intrigue
Straight-on photos can feel flat and uninteresting. Angling your shot slightly to include diagonal lines — like the edge of a countertop, the corner of a bed, or the curve of a staircase — creates more visual interest. Diagonals naturally draw the eye across the photo, making it feel dynamic and engaging.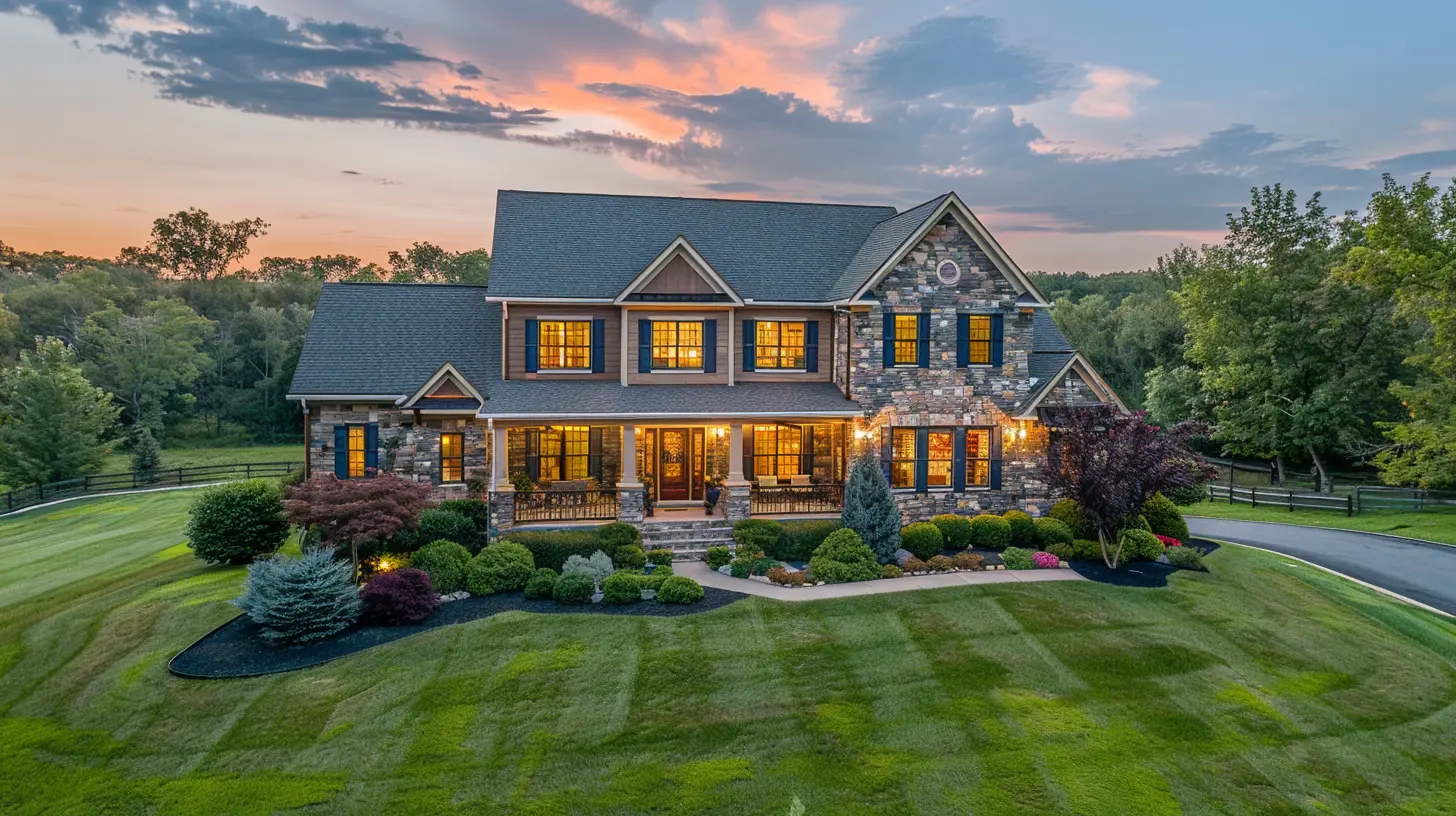
Lighting and Angles: A Match Made in Heaven
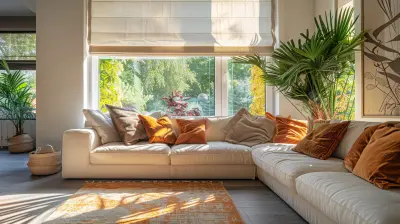
Alright, let’s address the elephant in the room: lighting. The right angle won’t do much if your lighting is out of whack. Here’s how to make them work together:1. Harness Natural Light
Rule number one of real estate photography: The sun is your best friend. Shoot during golden hours (early morning or late afternoon) to capture soft, flattering light. Position yourself so the natural light fills the frame from an angle, avoiding harsh shadows or overblown highlights.For example, if you’re photographing a living room with big windows, position the camera to take advantage of the light streaming in from the side. This creates depth and gives the room a warm, inviting glow.
2. Avoid Overhead Shadows
Nothing kills a photo’s vibe faster than unflattering overhead shadows. You know, the ones that make the room look like it’s auditioning for a horror movie? Instead, shoot at an angle where light sources (like lamps or chandeliers) aren’t casting weird shadows.Outdoor Spaces: A Whole New Angle (Literally)
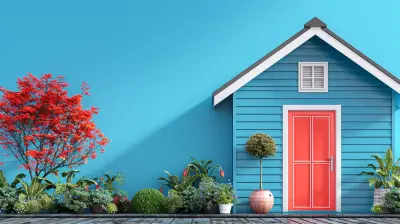
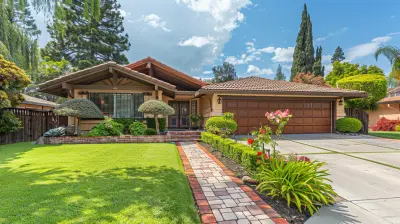
The exterior of a property is often the first image buyers see, so nailing the angles here is crucial.1. The 45-Degree Angle Rule
For exterior shots, a 45-degree angle from the front corner of the home is usually a winner. This angle captures the depth of the home while showing off its curb appeal.2. Elevated Shots for the Win
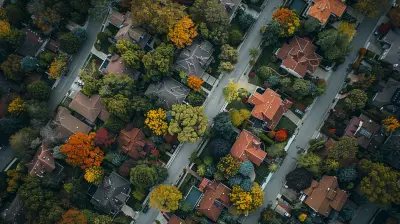
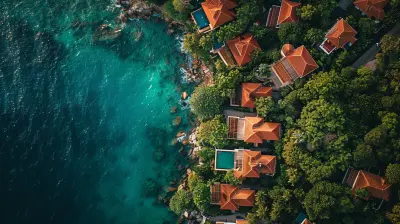
If budget allows, incorporating drone photography or elevated angles can set your listing apart. A bird’s eye view is perfect for showing large properties, backyards, or nearby amenities like parks or lakes.Staging and Angles Go Hand-in-Hand
Even the best angles can’t save a cluttered room. Proper staging and thoughtful design enhance the impact of your photos. Pro tip: Declutter and depersonalize the space before you start snapping away. Clean lines and minimalist decor give the room a polished look that translates well on camera.Mistakes to Avoid
Let’s quickly chat about what not to do.- Over-editing: Buyers aren’t looking for a photoshopped dream. They want authenticity.
- Weird Tilts: Keep the horizon straight. A slanted shot can make the viewer feel off-balance.
- Ignoring the Details: That pile of unmade laundry in the corner? Yeah, it’s gotta go.
Final Thoughts
Angles are one of the simplest yet most powerful tools in a real estate photographer’s arsenal. With the right techniques, you can transform any space from "meh" to "wow." Remember, the goal is to tell a story — a story that makes buyers picture themselves living in the home.So, the next time you’re setting up for a shoot, think about your angles. Try different perspectives, play with lighting, and don’t be afraid to get creative. After all, a great angle can be the difference between a property that sits on the market and one that sells in a snap.


Nora Clarke
This article is intriguing! I'm curious about how specific angles can transform perceptions of space. Are there particular techniques that consistently yield the best results for showcasing features?
March 30, 2025 at 6:34 PM